Here's the Latest
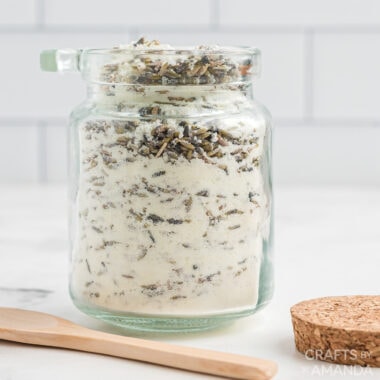
Lavender Sugar Scrub
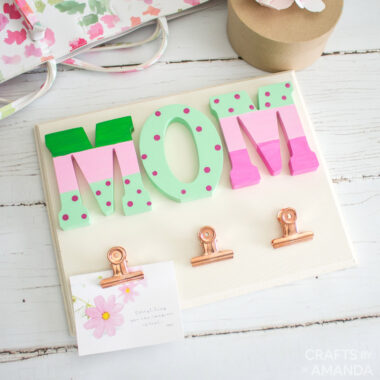
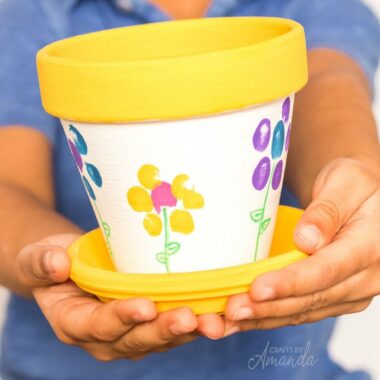
Fingerprint Flower Pot
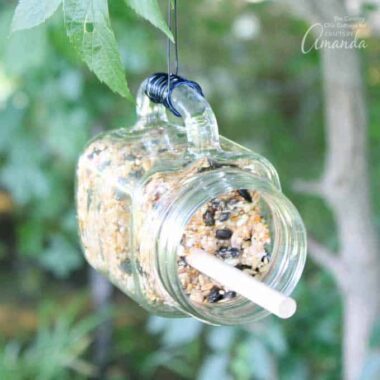
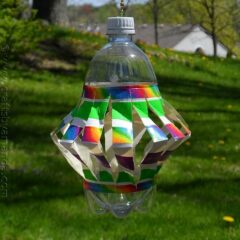
Mason Jar Bird Feeder

Bottle Cap Flower
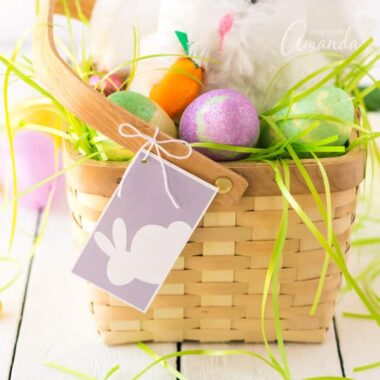
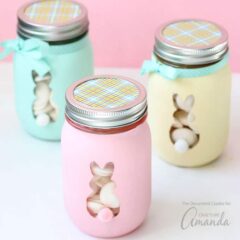
Printable Easter Basket Tags
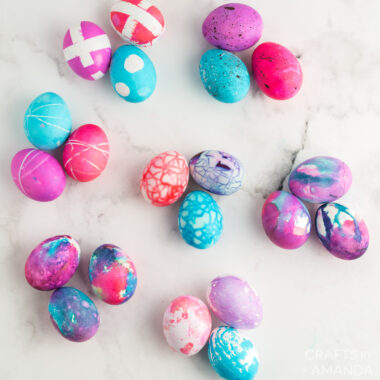
7 Cool Ways to Decorate Easter Eggs
Easy Crafts for Kids
crafts for adults and kid's crafts

Adorn your door this fall with a pretty deco mesh ... Go To project

Make pretty winter luminaries that appear to be covered ... Go To project

I'm going to show you how to make these adorable ... Go To project

You've been collecting prescription pill bottles for ... Go To project